
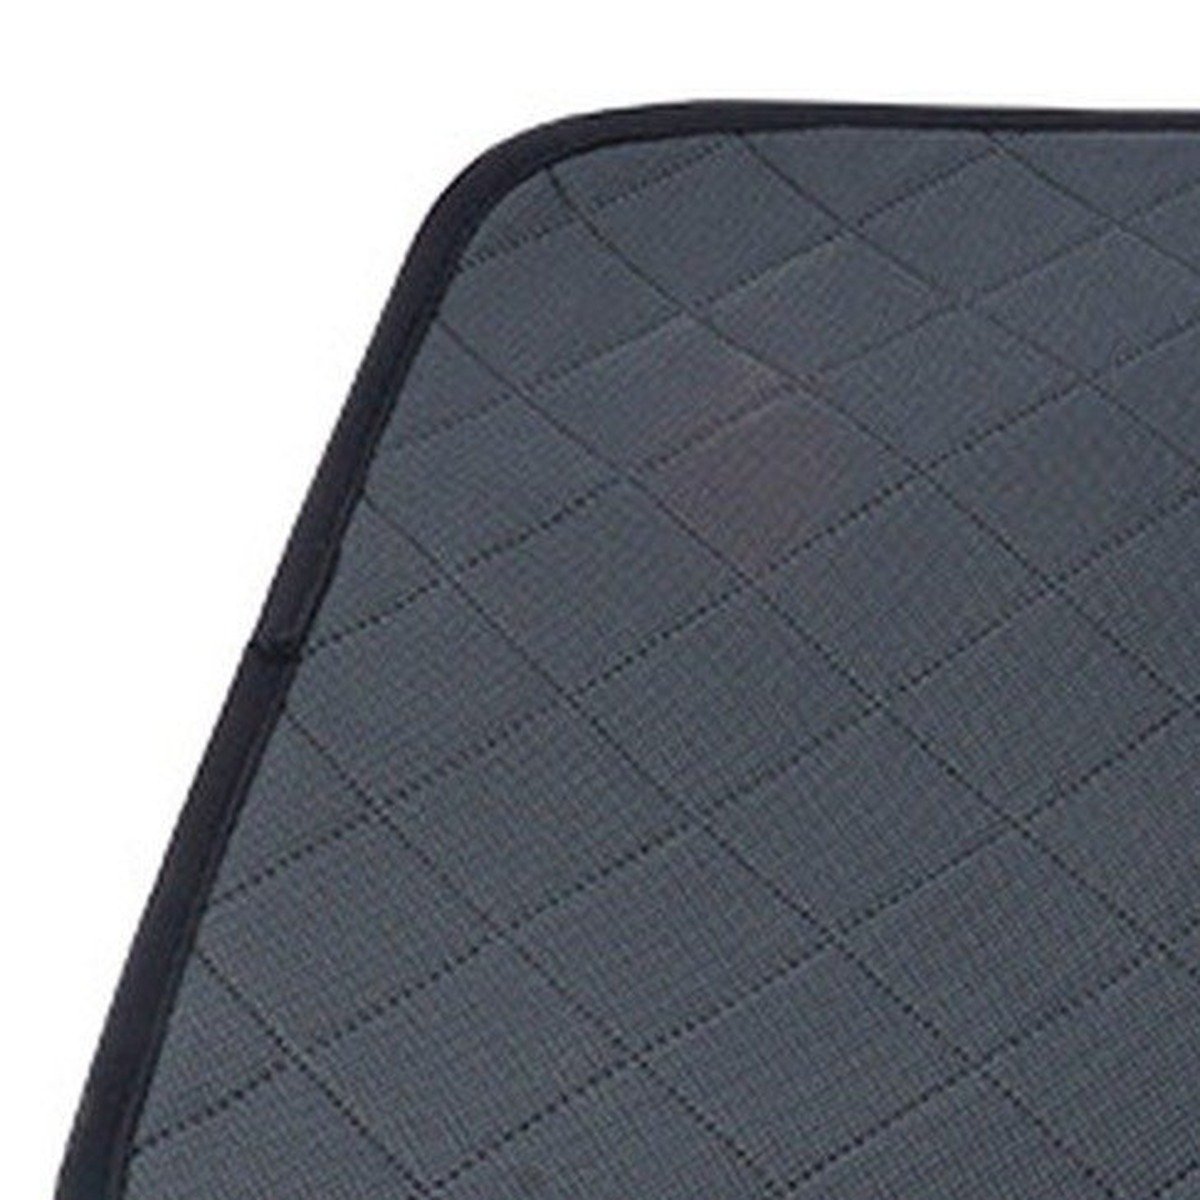
The sample is the standard. Every point you check now is a point that cannot become an argument later, and every point you skip becomes one you will be discussing over inspection photographs with the money still on the table.
The short answer
Approving a sample is a measuring job, not a feeling. Measure it against the spec sheet, use it the way the end buyer will, inspect the construction, and only then look at packaging and labels. Keep and sign the piece you approved — it becomes the inspection reference for the bulk. Samples on our range are US$25–40 per model and take 5 days.
Before you open the box
Most sample evaluations go wrong not because the buyer is careless but because the tools are missing. Have these on the table first:
- The spec sheet for this model, printed and marked with the lines you care about most.
- A tape measure and a scale, and a place to write numbers down as you take them.
- Your colour reference — a Pantone book, or the swatch you approved.
- A camera, and daylight rather than a shop light.
- The packing and label specification, if the sample arrives packed as it would ship.
The twelve points
Work down the list and stop at the first point that fails badly enough to change the product. The order matters: the product comes before the box it travels in.
- Material, by hand and by name. Does the surface feel like the material on the spec sheet, and does the weight or thickness read as stated?
- Fill and layering. Squeeze the product flat and let it recover — a thinner fill than specified is easier to feel now than to prove later.
- Dimensions. Measure every dimension the spec sheet lists, and write the numbers down instead of judging by eye.
- Weight. A scale catches a missing layer or a lighter backing faster than any other check on this list.
- Colour against the reference. Check in daylight, against the Pantone reference, with the product flat.
- Construction at the stress points. Corners, seam ends, and the places where a pull, a weight or a wash will land first.
- Stitching. Look for skipped stitches, loose thread ends, puckering, and any seam that stops short of the edge.
- Hardware and closures. Zips, buckles, hook-and-loop and elastic, cycled enough times to be uncomfortable.
- Edges and finish. Raw edges, sharp plastic, binding cut rather than folded — the first things the end buyer sees.
- The function test. Use the product the way it is sold: the absorbency, the grip, the fit, the way it folds or stays put.
- Washing or cleaning. If the product is sold as washable, clean it before you approve it, then check colour, shape, backing and seams again dry.
- Packing and labels. Bag or box as specified, label content readable, barcode scanning, artwork aligned — then the carton, if you have one.
What to do with the result
| Your result | What it means for the order |
|---|---|
| Approve as is | Sign, date and return the piece with the spec sheet version it was checked against. That pair travels with the bulk order. |
| Approve with changes | Write each change as a spec line, not as a sentence in an email. The change list becomes the brief for the next sample. |
| Reject and resample | Say which points failed and what you are comparing against. A resample against named points is a short round, not a rebuild. |
| Escalate before deciding | If the sample is close but photographs cannot settle it, ask for a video walkthrough of the line. |
The record that keeps the next batch honest
An approved sample on its own fades in usefulness. What keeps the next order aligned is the pair: the signed sample and the spec sheet version it was checked against, held with the photographs and measurements from the day you approved it. When the bulk is inspected against that pair, the question stops being “is this as good as the sample?” and becomes “does this match the reference in writing?”
Read how to read a pet product spec sheet before the sample lands: several points above can only be checked because a spec line exists to check them against. And if the sample is approved ahead of the order, payment terms in pet product manufacturing explains why the approved piece should be named in writing as the inspection reference.
Questions we get asked
How long should a sample evaluation take?
One proper session organised around the checklist, plus any wait for a wash cycle or an overnight function test. What damages an evaluation is not speed but a parcel left open on a desk for weeks while a production slot moves on. Book the time before the sample arrives.
Should I test the sample to destruction?
Deliberately, and on a second piece. The approved sample has to stay pristine to work as the inspection reference, so if you want to cut a seam open or load it past its rating, ask for two pieces of the same model. A spare sample costs far less than a failed first run.
What if the sample is close but not right?
Approve with changes, written as spec lines, and keep the record of what the first piece did not do. Most products take a round or two, and a written change list stops the second round drifting away from the first.
Do you supply the sample before I have a specification?
Yes — send a reference product, a photograph or a target description, and we will build the first sample and a draft spec sheet from it. Sampling is quoted at US$25–40 per model, prepared in 5 days, and the fee is credited back in full against your first production order.
If you have a sample in hand and want a second pair of eyes on the twelve points, send the specification and your notes — we will tell you what we would re-check and what will matter at bulk inspection. The service page covers sampling as part of the order sequence, and the contact page reaches us directly: one business day for a reply.