
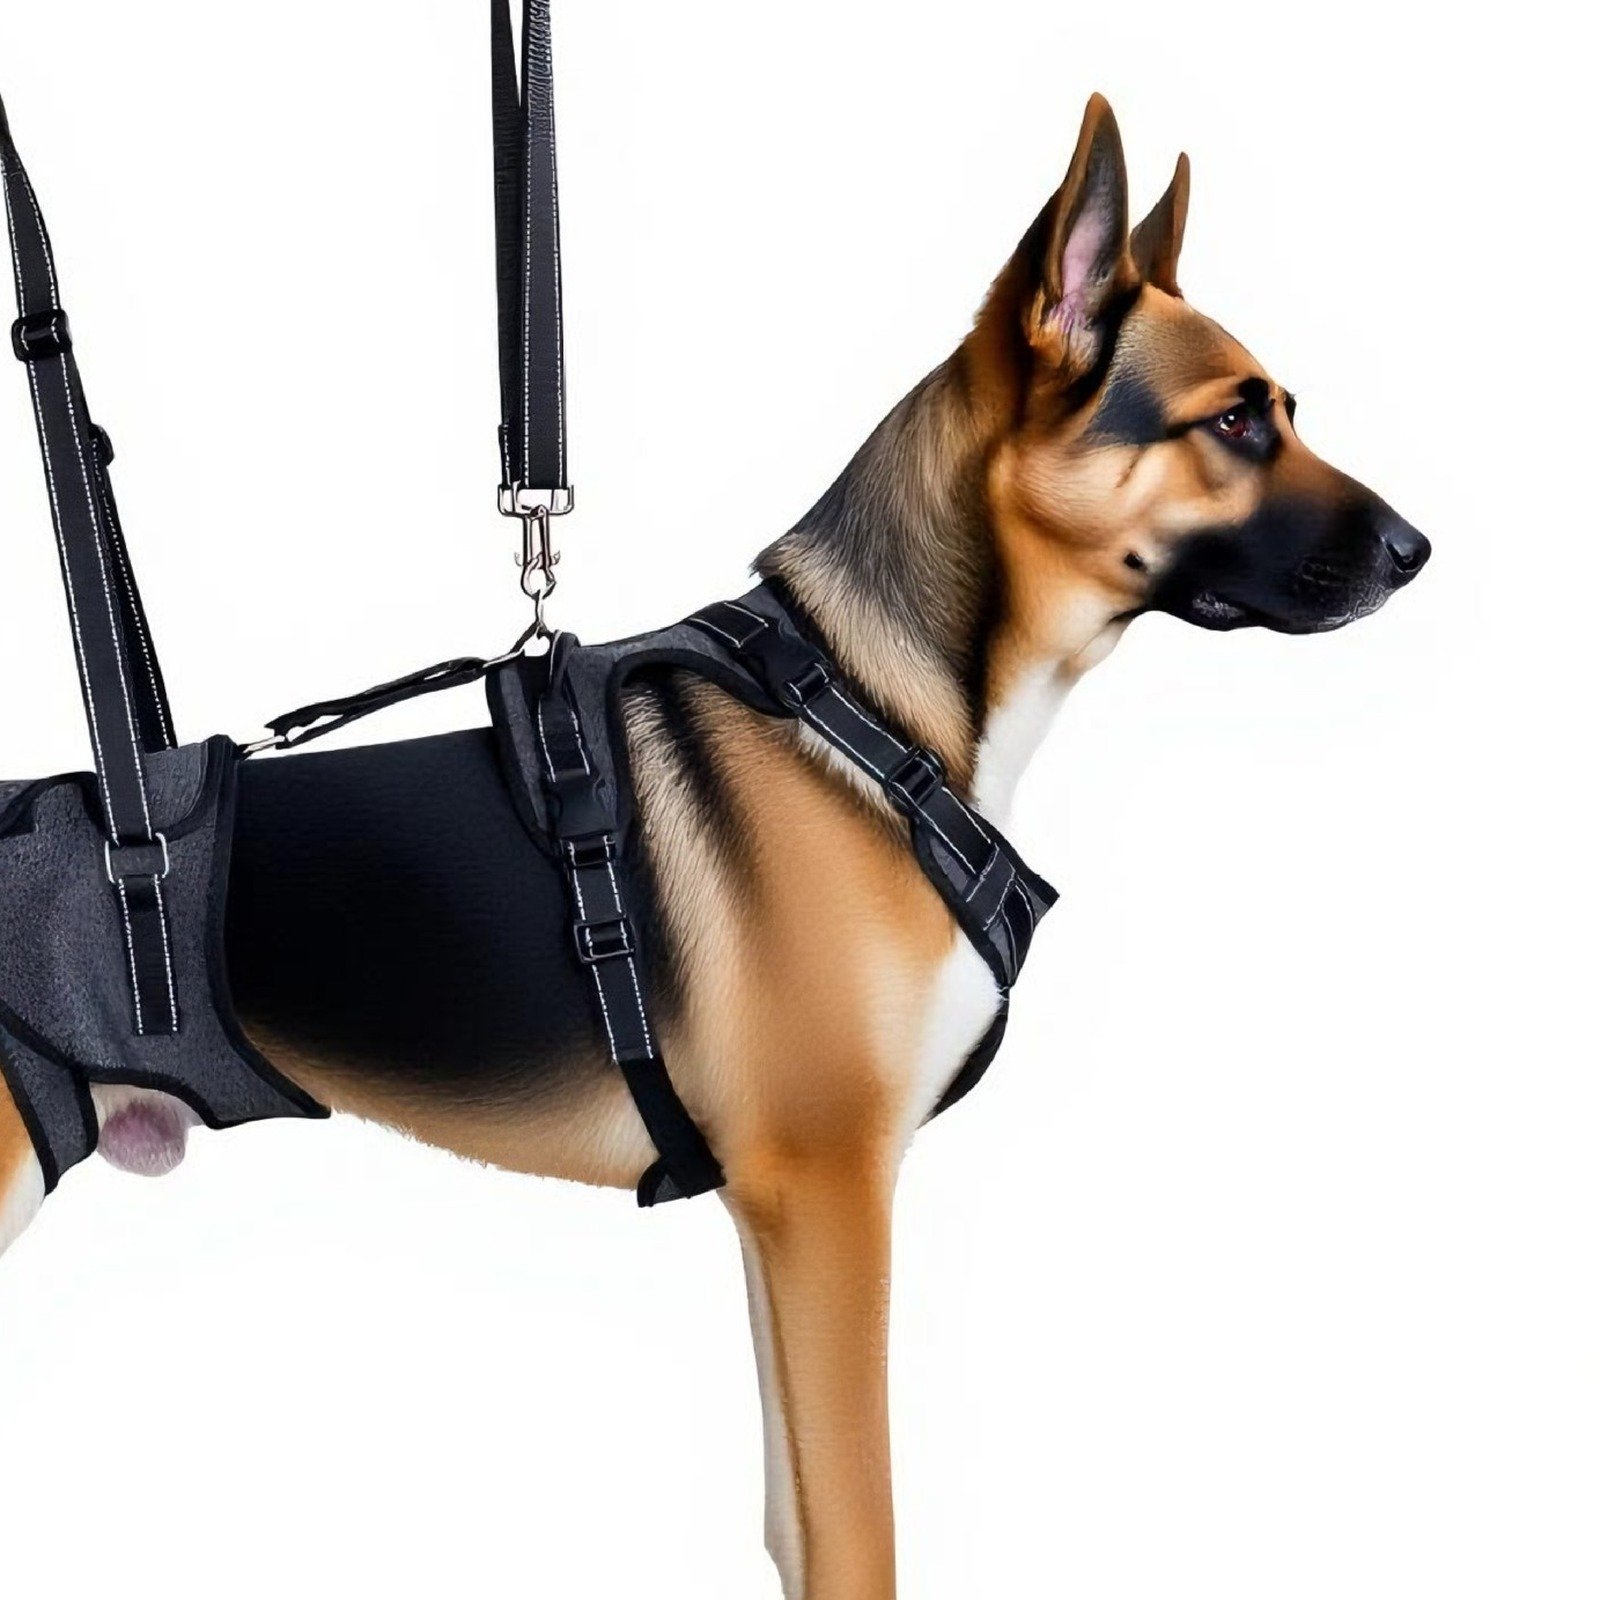
Fabric is what a pet product is described by; hardware is what it is judged by. The buckle a customer squeezes every morning, the zip that runs along a bed cover and the bartack that carries a lift handle are where a specification either holds or quietly gives way.
The short answer
Read hardware as a load path: buckle, webbing, stitch, ring and the point where each is attached. Judge buckles by material and engagement, zips by slider, teeth and tape, webbing by weave and cut, and every fixing by how it is sewn or set. Ask for the component specification and the rating method — confirmed on your spec sheet — then cycle and load the sample before you approve it. Samples are US$25–40 in 5 days; trial quantities are on request.
Why hardware is the first thing to inspect
Hardware is the part of a pet product a customer touches before they judge anything else. It is also the part that fails visibly: a cracked buckle, a zip that splits behind the slider, a ring that bends under a pull. Failures here are attributed to the brand rather than the component.
Hardware is also where claims become checkable. A lift harness’s rating, a bed cover’s closure and a travel mat’s fastening are all statements about an assembly, and the assembly is only as strong as its weakest connection.
Buckles: material, action and engagement
Start with material. Acetal, nylon and recycled variants behave differently, and the grade matters as much as the family. Ask what the buckle is made of, whether the grade is stated, and whether it is the same component across sizes.
Then the action. Side-release, cam and ladder-lock buckles trade convenience against security, and a buckle that is hard to open gets forced and breaks. Close it and pull: partial engagement, wobble or sharp edges are the signals to note.
Finish tells you about the mould: flash, sink marks, colour mismatch and stiff edges. For any product that carries a load, the component rating and the assembly rating belong on the spec sheet, and the difference between them is set out in harness padding and weight ratings.
Zips: four parts, four ways to fail
A zip is a slider, a set of teeth, a tape and a pull, and each fails differently. The slider can loosen and stop closing; teeth can skip or split under tension; tape can fray where it is stitched; the pull can detach at the worst moment.
Run the zip along its full length under tension. Look for missed teeth, a gap behind the slider, tape that has been cut rather than sealed, and a zip guard that traps fabric. Coil and moulded zips behave differently, and a two-way zip on a long cover needs both sliders checked.
Where the zip sits matters: on a bed cover a split zip is an annoyance; on a harness coat it is a safety issue. Write the zip type, length and slider into the specification.
Webbing, stitching and fixing points
| Component | Quality signal | What to check |
|---|---|---|
| Webbing | Tight, even weave; clean, sealed cut; consistent width | Pull across the width and look for fraying at the cut end |
| Stitching | Even density; matched thread; no skipped stitches | Inspect seam ends and any curved section |
| Bartacks and box-X | Reinforcement at every load point | Compare the reinforced points with the drawing |
| Rivets and eyelets | Set flush, no cracking, plating intact | Twist and inspect the set |
| D-rings | Solid or welded, no burrs, correct thickness | Follow the load path through the ring |
A component rating is not an assembly rating. Sewing through webbing reduces its strength, and the stitch pattern decides by how much. That is why a harness can pass a webbing test and fail at a bartack, and why the fixing points deserve as much attention as the material they join.
What buyers should check, and when
At sample stage, ask for the component list with material, dimensions and finish, then cycle every closure more times than feels reasonable and load the assembly if a load claim exists. Compare hardware colour against the webbing and the approved Pantone, and check the components against the drawing.
At production, check a piece from each batch and compare plating, colour and action with the retained sample. Substituted hardware is the most common quiet change between orders, and it usually arrives with the same shape and a different material. Ask what documentation exists for the components rather than assuming it does; if a certificate is claimed, ask to see it.
Check the packing as well. Unprotected hardware damages the product it is attached to in transit. The balance on our orders follows inspection photos, so the hardware check belongs in the photo set, not in a later conversation.
Questions we get asked
What is the first hardware check on a sample?
Open and close every closure several times. A buckle that is stiff, a zip that snags or a pull that feels loose will fail in use long before the fabric does. Then check the finish for flash, burrs and colour mismatch.
Does a metal ring always beat a plastic one?
No. Metal brings plating wear, corrosion and weight of its own. The question is what the assembly is rated for and how the component is attached, not which material sounds stronger.
How do I know the hardware has not been swapped on a repeat order?
Compare the batch with the retained approved sample and the spec sheet, and ask for the component reference in writing. Substitution is the most common quiet change between orders.
Do zips need a different test from buckles?
Yes, because they fail differently. A zip is checked along its length under tension and for splitting behind the slider; a buckle is checked for engagement and release under load. Both should be cycled, and both belong on the spec sheet.
Send the component list, the load or lift use and the market, and we will say which hardware lines belong on the spec sheet and what to check on the first batch. Start from the senior dog lift-assist harness, read harness padding and weight ratings, or reach us through the contact page — one business day for a reply.